How to Hang Pinch Pleat Curtains
24Jun
Follow This Simple Guide To Hang Your Made to Measure Pinch Pleat Curtains
- Made to Measure Pinch Pleat curtains require a different kind of curtain hook to the ones used with pencil pleat curtains. The hooks have a sharp point at one end and are designed to be pushed point first into the rear of the curtain. Whilst the thought of stabbing a sharp hook into your brand new curtains may seem a little scary there is no need to worry - in our experience no one has ever ruined their curtains with these hooks. They are simple to use and offer an infinite amount of height settings.
- As usual, before you start, make sure your hands are clean!
- Before you hang the curtains count how many pinch pleats you have on the curtain and make sure you have the corresponding number of rings on your pole or runners on your track. You will also need an extra ring at each side of the curtain so add 2 per curtain.
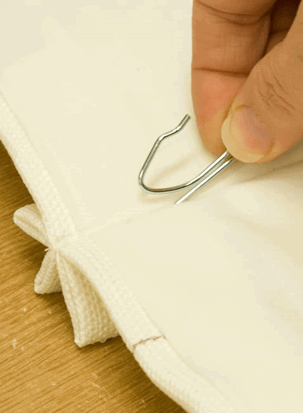
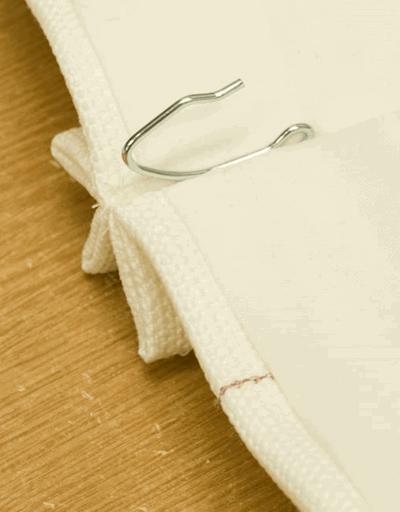
- Lay the top of the curtain face down, on a flat, clean surface and with the lining side of the curtain facing you, push the sharp point of the pin hook in under the stitches in the back of the pleat until the point is hidden and only the hook end is visible.

- Make sure that the hook is as close to the top of the curtain as possible whilst still being hidden, so that the curtains can hang below the track or pole. This enables the curtains to concertina or stack back neatly and the heading will not be pushed forward by the diameter of the curtain pole.

- Insert a few hooks, and then whilst supporting the rest of the curtain, hang the curtain from the pole or track to check that you are happy with the length. You can move the hook position if required to make sure the length is perfect. When hanging curtains it is always best as a 2 man operation so someone can hold the bulk of the curtain weight for you and if using a ladder be extra careful.
- When you are happy with the position of the hooks, measure from the top of the curtain to the insertion point and make a small pencil mark on each pleat. This will ensure that every hook is inserted at the same point and the curtain will hang evenly.
- Insert a pin in every pleat at the pencil mark, adding one pin to the outside edge of each curtain, and one to the inside edge of the curtain. Make sure the pins on the inside edges are far enough in to allow the edges to overlap and avoid a gap.
- Supporting the curtain, each hook can then be inserted into the eye on the bottom of your curtain ring or track glider. Start from the middle and work outwards - this will make the job much easier as the weight of the curtain will be supported. Make sure you use the end stop or the last ring between the finial and bracket.
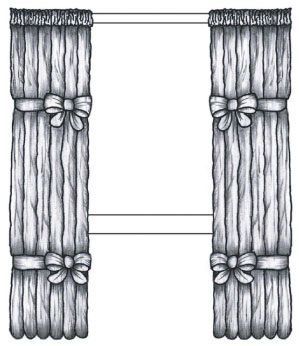
- Once the curtains are hanging, draw them back fully and then, from the top of the curtain, push the fabric back, in between the pinch pleats. Run your hand down the length of the curtain to form the pleats the full length of the curtain.
Using a cord or strips of fabric, tie the folds in place loosely in several places. Leave these ties on for as long as you can bear it as they will "train" the folds to hang naturally in the positions you have tied them in - at least 48 hours but ideally 5 days or so. When you remove the ties the curtain folds should retain in the shape you set them in.

By now your curtains should look like they have been hung professionally, however if you experience any difficulties or are unsure of the procedures described please do not hesitate to contact us on using our contact page .
Comments


